1. Installation
Installing the theme
There are 2 main ways to upload the theme:
- Via the built in WordPress theme uploader
You can read the instructions about installing a theme via the WordPress uploader below.
First you have to unzip the download file and find the zip file called blackair.zip. After this you have to go in the admin panel » Appearance » Themes, click on the Install Themes tab and then click on the "Upload" tab (located in the top section of the page). After you click the "Upload" tab, a new page will be opened where you will be asked to find the .zip file on your local file system.
Note: Some servers have limited folder access settings applied and wouldn't allow uploading the theme trough the admin. In these case you have to upload the theme via FTP. - Via FTP client
If you know the FTP login details of the server where your site is hosted and you have a FTP client installed (such as FileZilla), you might consider using this way of uploading your theme. First you have to unzip the download file, find the zip file called blackair.zip, unzip it and upload the folder to the main WordPress installation folder » wp-content » themes. Please note that if you prefer this way of installation, you have to make sure that the main files of the theme are contained just within one folder of the themes folder. The right way to locate your root theme files is for example themes/blackair but not themes/blackair/blackair.
Minimal Theme Requirements:
- WordPress v.4.2 or greater
- PHP v.5.2.4 or greater
Import Demo Content
If you would like to import the demo content, just go to tools » import » WordPress section and select the demo data that you would like to import.
Please note that:
- Please install all the bundled plugins that you are going to use (such as Slider Revolution, Blackair Extension, WPBakery Visual Composer, etc.) in the Appearance » Install Plugins before importing the demo data so that all the data for these plugins can be imported.
- This will import all of the demo settings and will overwrite your current settings, such as theme options and color settings
2. The Header
Changing the logo
To upload your logo, go to Appearance » Customize » Blackair Theme Option » Theme Style section and select the logo image that contrasts with the theme.
If you would like to have a sharp logo image on retina displays, the image uploaded should be twice bigger than its display size - for example if the standard logo image size is 30x70 pixels, the image size of the uploaded image should be 60x140 pixels.
Setting the menu

When you first install the theme, the menu will contain all the pages created and it sets drop-downs when there is a parent/child hierarchy created within the pages.
However, we would recommend building your custom menu by using the WordPress Custom Menus functionality, as it is more flexible and very easy to work with. To learn how to create a WordPress Custom Menu, you can follow the instructions below.
Here are the steps you have to follow in order to set the menu:
- Go to Appearance » Menus. To create the menu click on the
"Create a new menu" link.

- After you create the menu, you can
add Page, Category and custom links from the left sidebar.
3. Theme Style
1. Theme Style ::
You can select theme style for your site. You have two option Black or White.
2. White Logo Upload:
You can set logo for your white theme style from here.
3. Black Logo Upload:
You can set logo for your black theme style from here.
4. Main Theme Color:
You can select your site primary/main theme color from here. It will apply to whole site.
4. Theme Font
1. Primary Font Family:
This font family apply to all heading (h1 to h6 ), menu fonts, buttons fonts and section titles.
2. Secondary Font Family:
This font family apply to body font.
3. Menu Font Size:
You can set menu font size from here.
4. Body Font Size:
You can set body font size from here.
5. The Footer
By default there is no footer. After inserting all valid values through customizer footer looks like this:
You can edit footer section from here. The code of footer is written in footer.php file of theme directory.
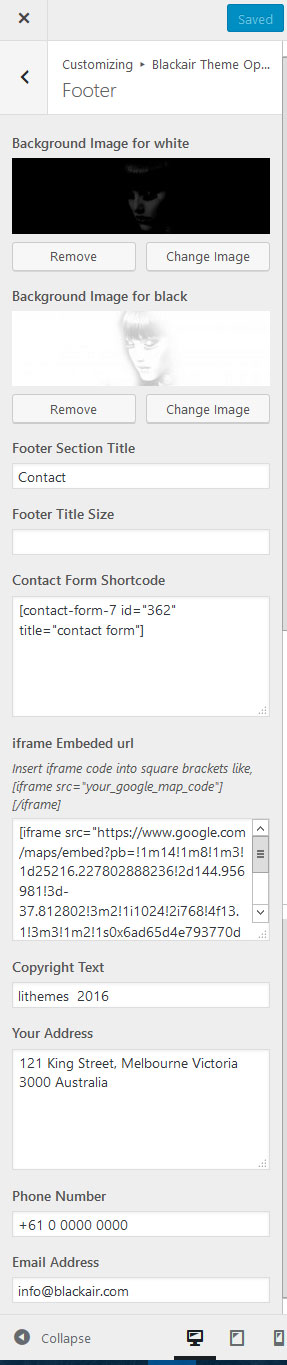
1. Background Image for Footer:
You can select images for both dark and light theme footer section background images. The overlay of section is Main Theme Color which is set by you.
2. Footer Section Title:
You can set title of your footer setion from here.
3. Footer Title Size:
You can set title font size from here (Size unit will be in px).
4. Contact Form Shortcode:
You have to put shortcode of contact form in here. You can make your own contact form in Contact panel of your WordPress site.
5. iframe Embeded url:
Iframe Embedded URL does not support angle brackets in WordPress theme customizer.
You have to use square bracket like following:
[iframe src=”google.com/maps/embed?pb=!1m14!1m8!1m3!1d25216.227802888236!2d144.956981!3d-37.812802!3m2!1i1024!2i768!4f13.1!3m3!1m2!1s0x6ad65d4e793770d3%3A0x9e44d6ad0d76ba7c!2s121+King+St%2C+Melbourne+VIC+3000%2C+Australia!5e0!3m2!1sen!2sus!4v1429013152809″][/iframe]
Instead of:
<iframe src="google.com/maps/embed?pb=!1m14!1m8!1m3!1d25216.227802888236!2d144.956981!3d-37.812802!3m2!1i1024!2i768!4f13.1!3m3!1m2!1s0x6ad65d4e793770d3%3A0x9e44d6ad0d76ba7c!2s121+King+St%2C+Melbourne+VIC+3000%2C+Australia!5e0!3m2!1sen!2sus!4v1429013152809"></iframe>
6. Copyright Text:
You can set copyright text for site from here. Note that it will display © by default.
7. Your Address:
You can set your address here.
8. Phone Number:
You can set your phone number here.
9. Email Address:
You can set your email address here.
To add social media icons, go to Appearance » Customize » Blackair Theme Option » Social Menu section and add corresponding links for facebook, twitter, Google+ and You Tube.
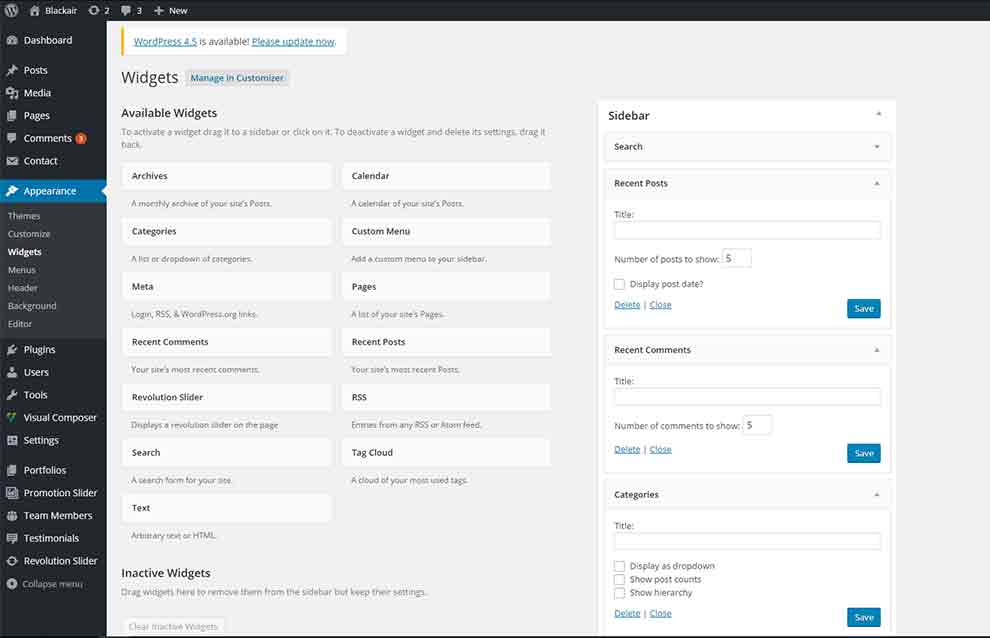
6. The sidebars
This theme supports multiple sidebars and they are all dynamic. This means that you can insert whatever widgets you like on them.
There is one default sidebar that goes to left-side of the pages.
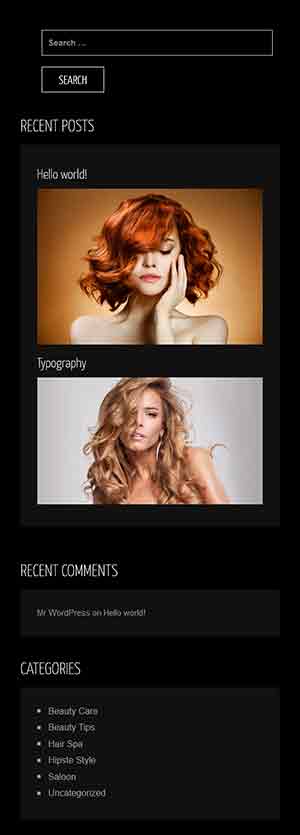
To customize your sidebars you have to go in the admin panel » Appearance » Widgets. In this section you will see your sidebars on the right part of the page. Now you can drag and drop widgets from the left into your sidebars.
You can assign a custom sidebar to each page in the "Page sidebar" field of the Page Settings section.
7. Template Content
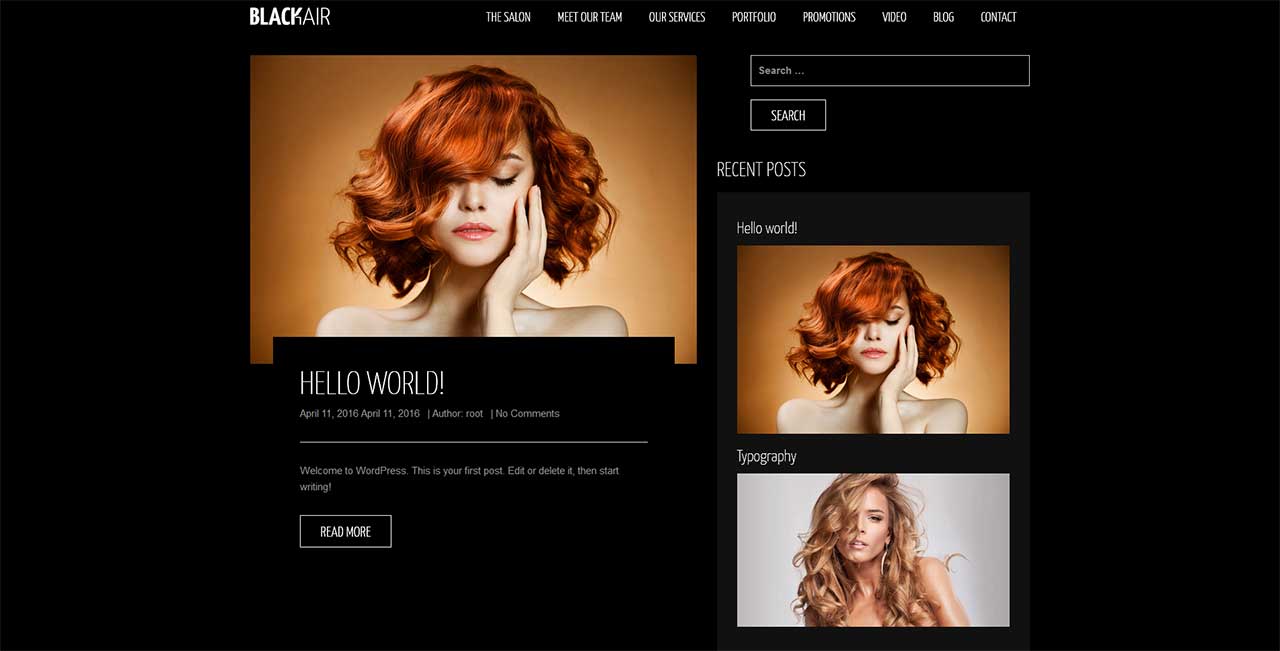
Home Page - Revolution Slider
Home Page - Revolution Slider looks like this:
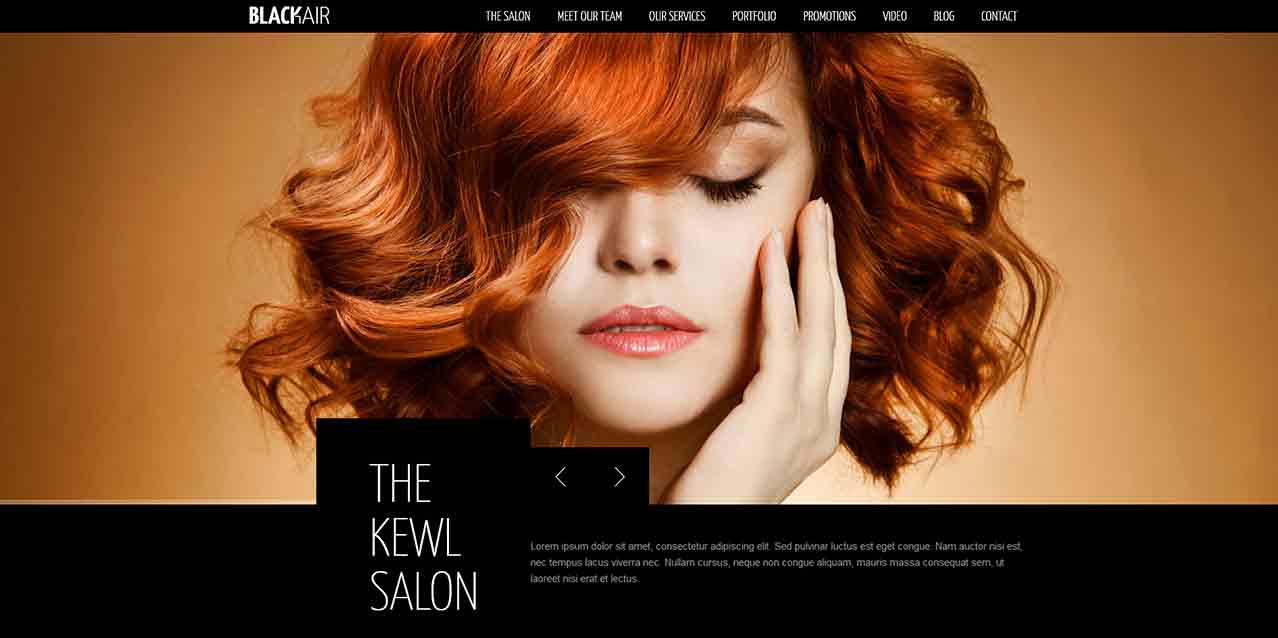
To add a revolution slider, on the menu panel go to Revolution Slider >> Revolution Slider. Now either import the default revolution slider provided by us or create your own custom revolution slider.
Next go to Pages and add the revolution slider element from the visual composer.
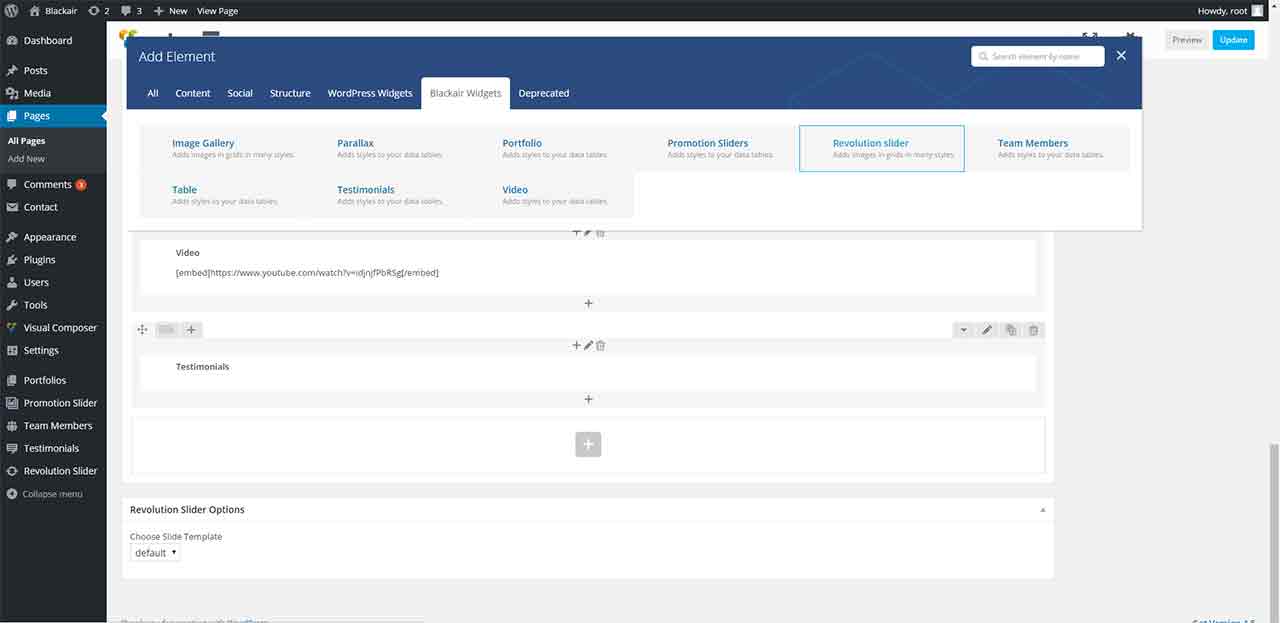
Here, you can provide customized Heading Title, Heading Description and select the Revolution Slider from the dropdown menu. You can also add a custom style through a custom css class in the Custom Class field.
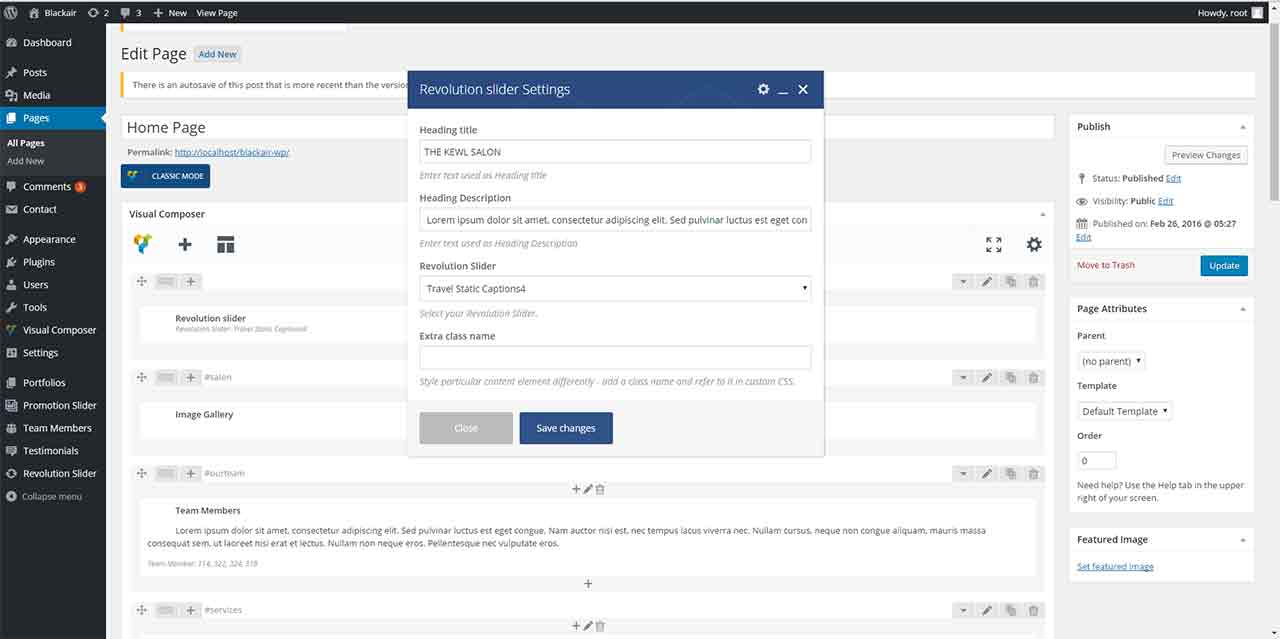
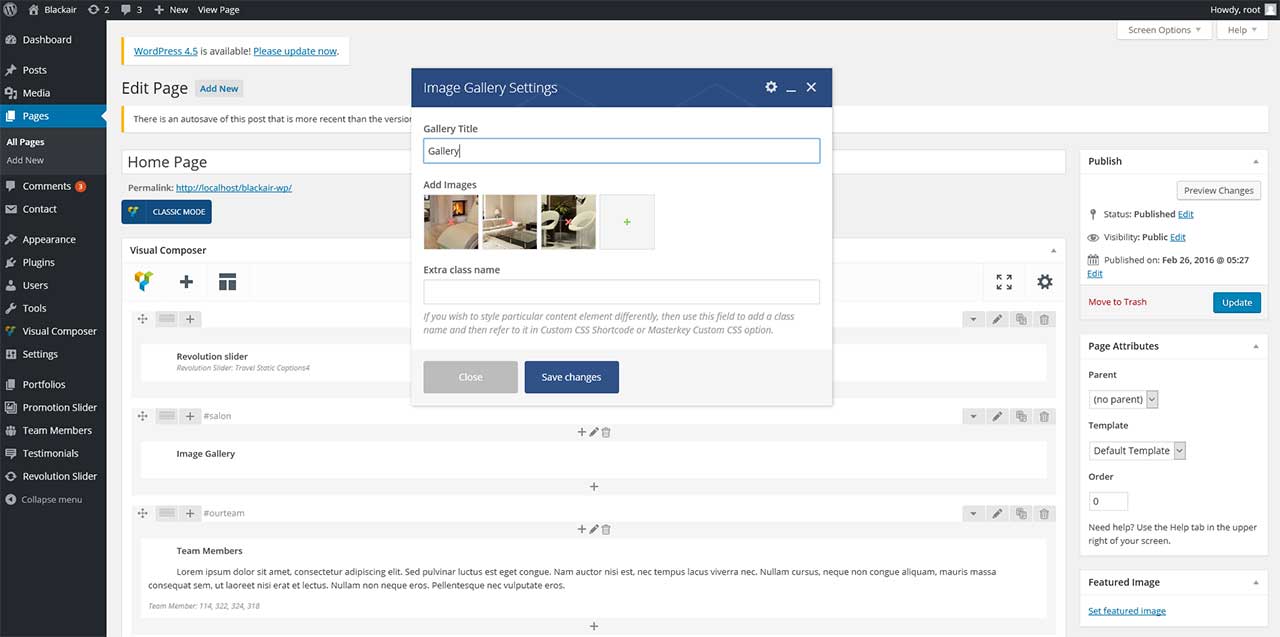
Image List-Content
Image List Content looks like this:
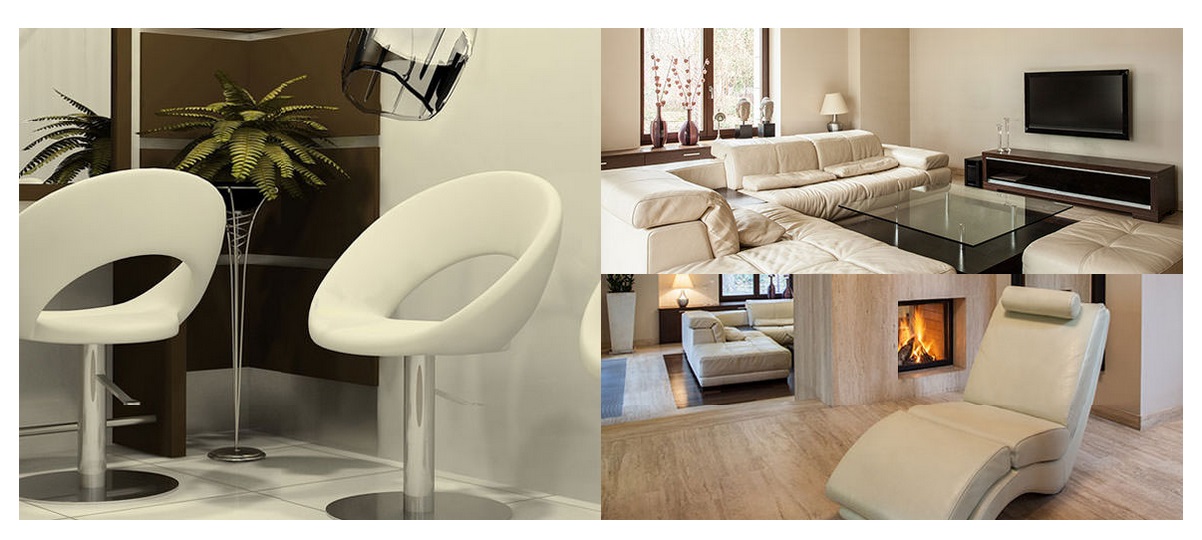
To add images in the Image Gallery, first go to pages and add Image Gallery element. In the form, you can provide 'Gallery Title', add images and also a custom style through a custom css class in the Custom Class field.
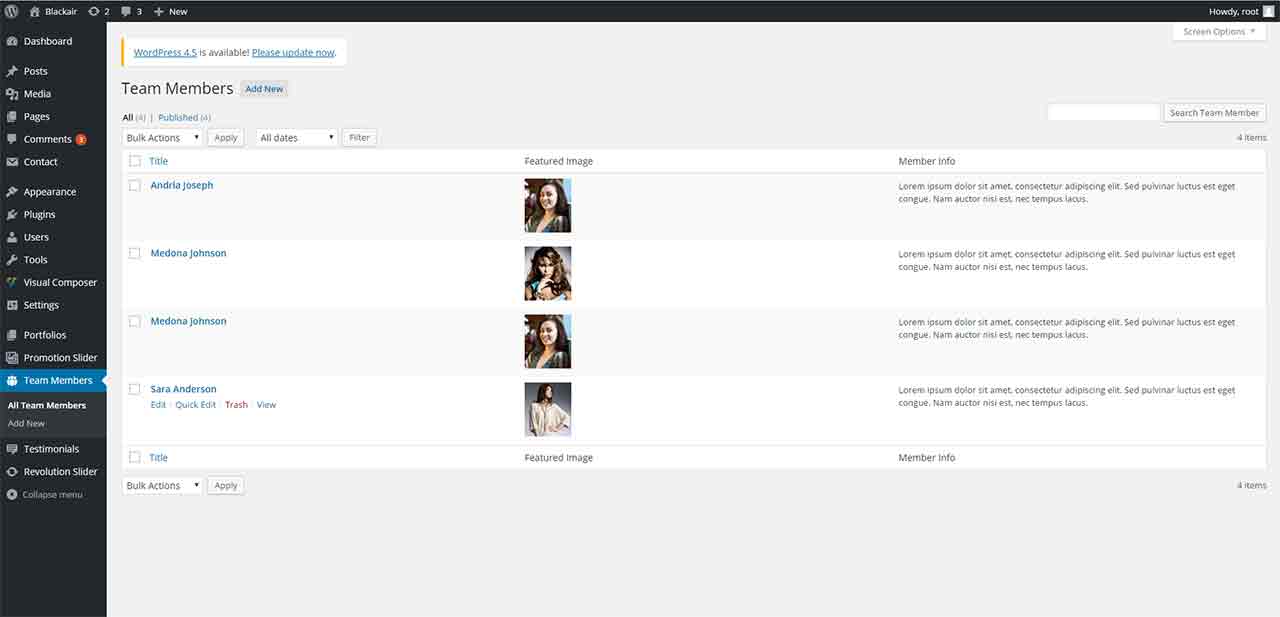
Meet our Expert Stylists- Content
Meet our Expert Stylists Content looks like this:
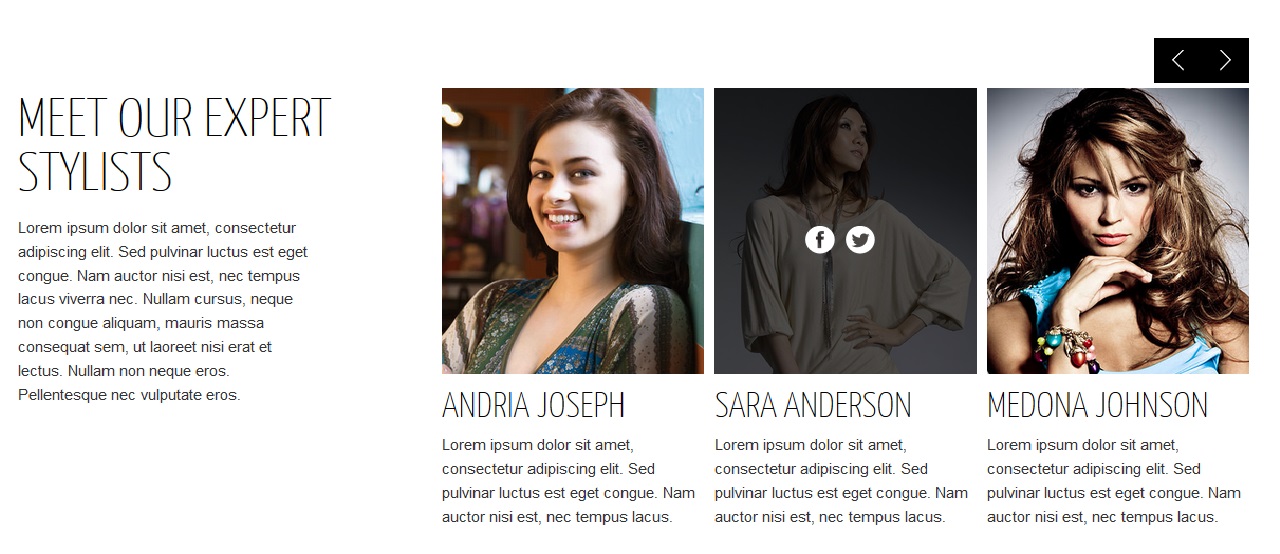
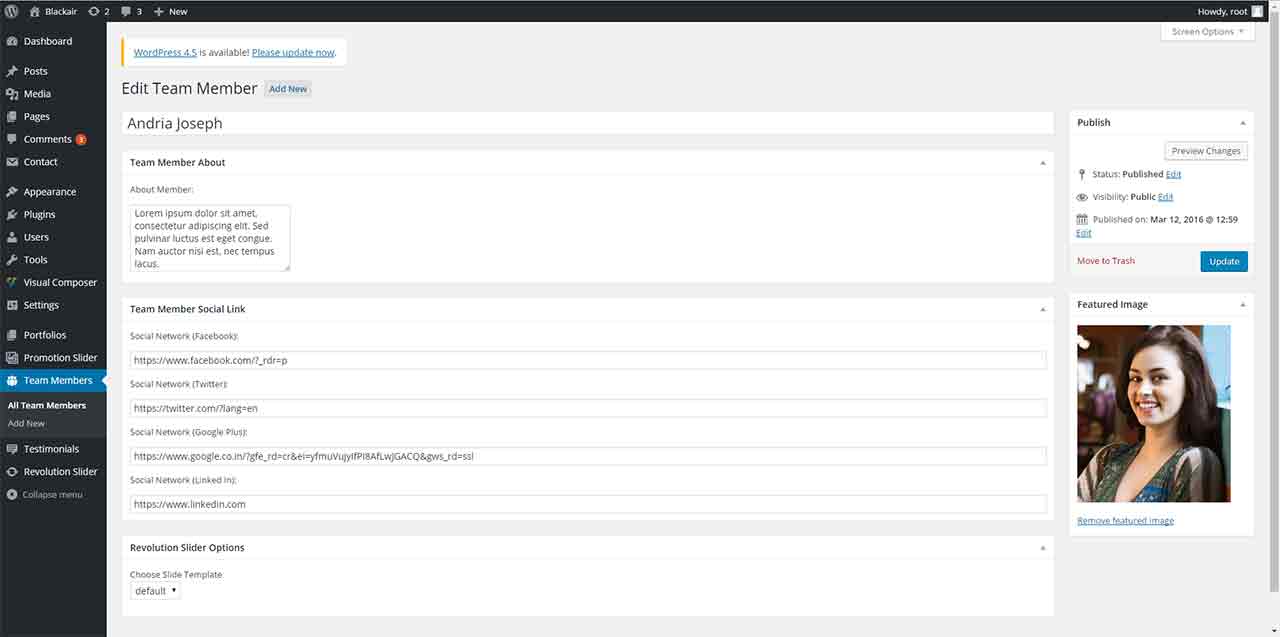
To add the details of team members, go to Custom Post Type 'Team Members'. Here you can add a new member or edit an existing member.
You can add various details about the team member such as Name, Image (using Featured Image), Description, and links to their social media page.
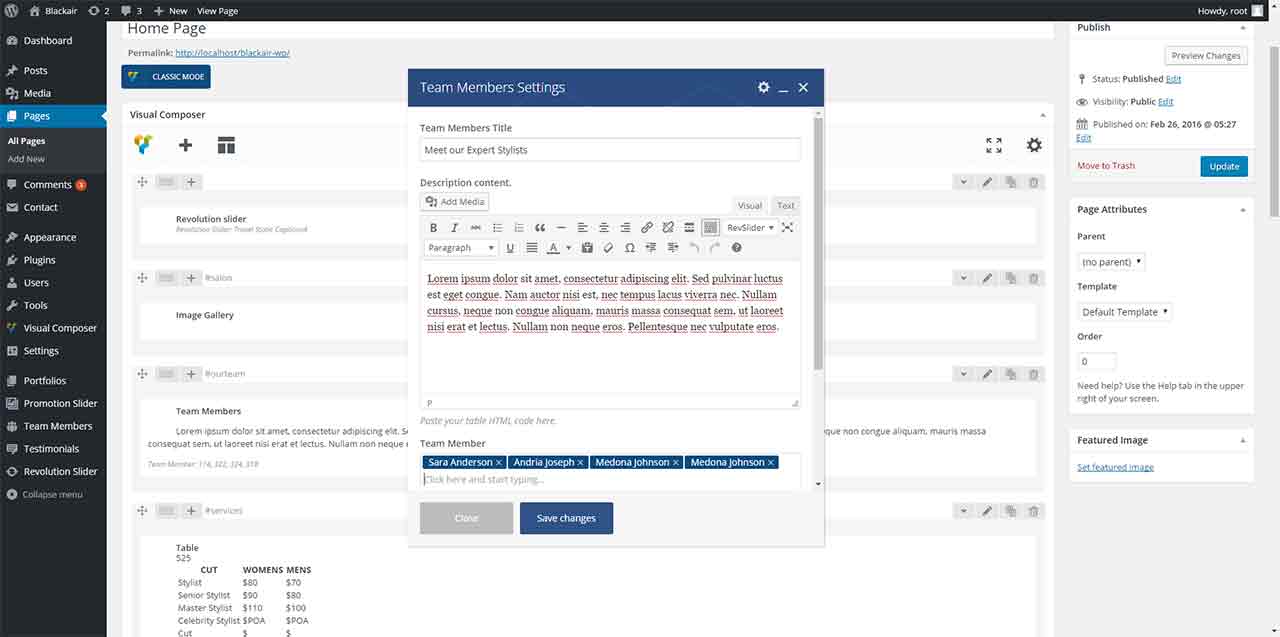
To add your team's profile, go to Pages and add Team Members element. In the subsequent form, add the Title to be displayed in the 'Team Title' field and the team description in the corresponding field. You can also add names of the individual team members.
If you leave the 'Team Member' and 'Count' field blank, then it will display all the team members added above. However, if you have selected some names then it will display only those member profiles.
Additionally, if you mention 'Count' then it will display a maximum of those many profiles. You can also add a custom style through a custom css class in the Custom Class field.
Our Services
Meet our Over Service Content which has pricing tables CUTTING Table, COLOR Table and STYLE Table looks like this:
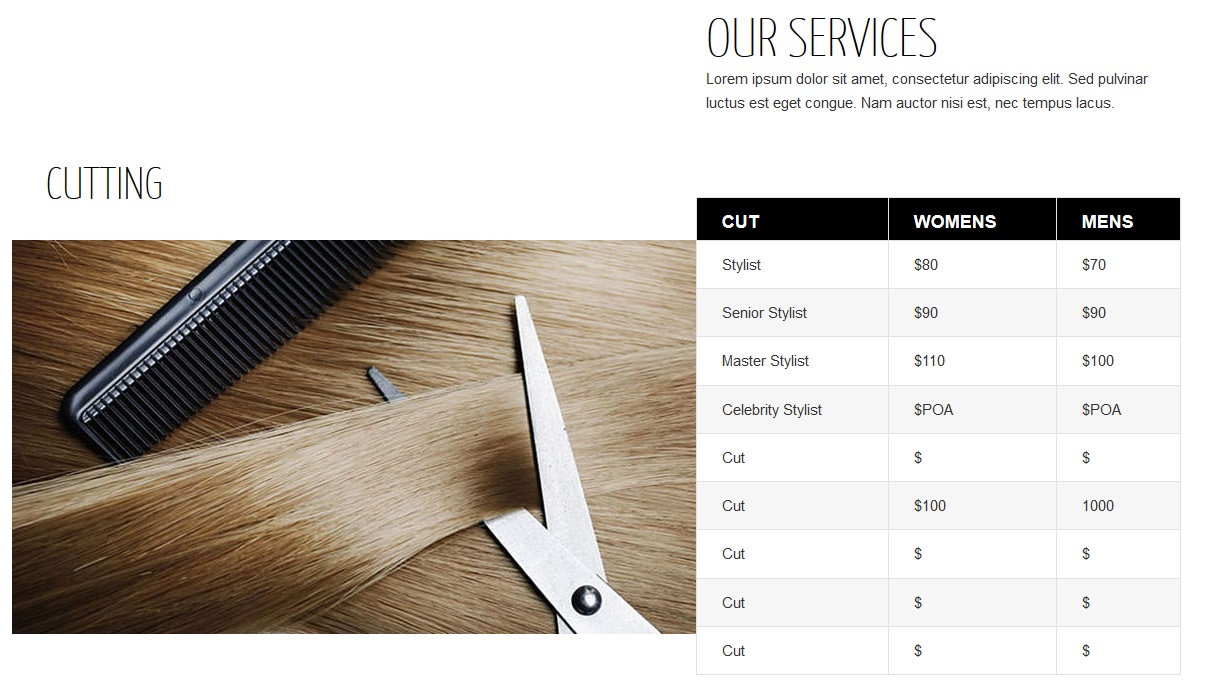
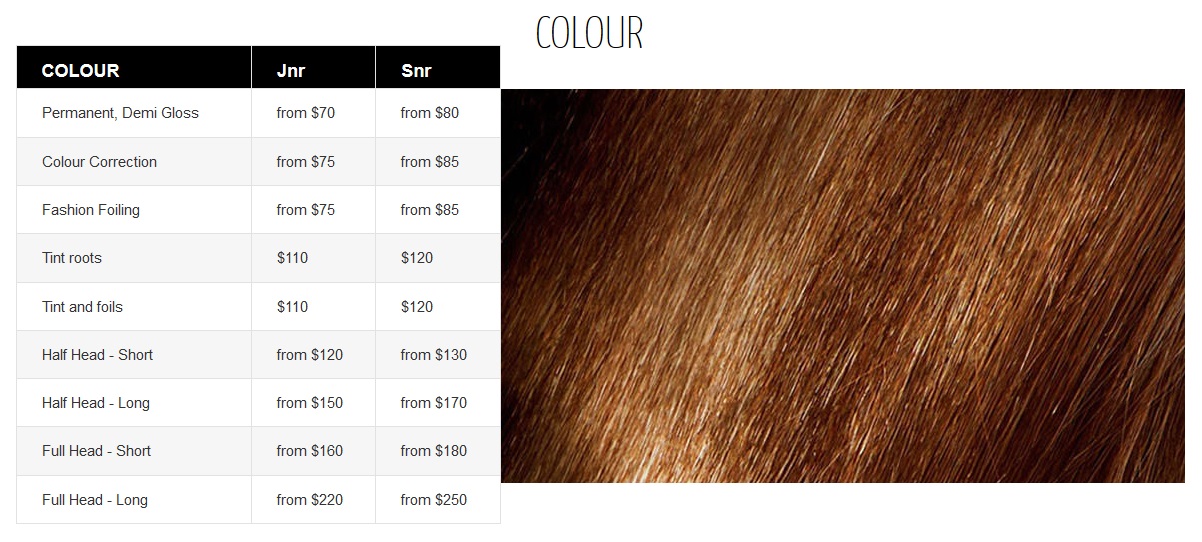
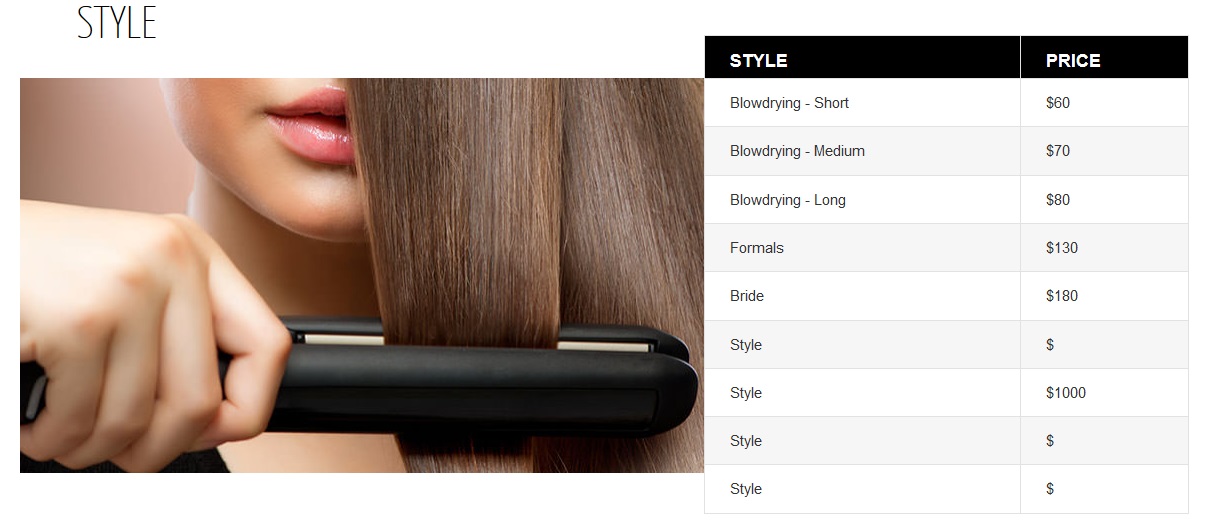
To add table, first go to pages and add Table element from Visual Composer. In the form, you can provide 'Table Title', add image, table content and also a custom style through a custom css class in the Custom Class field. 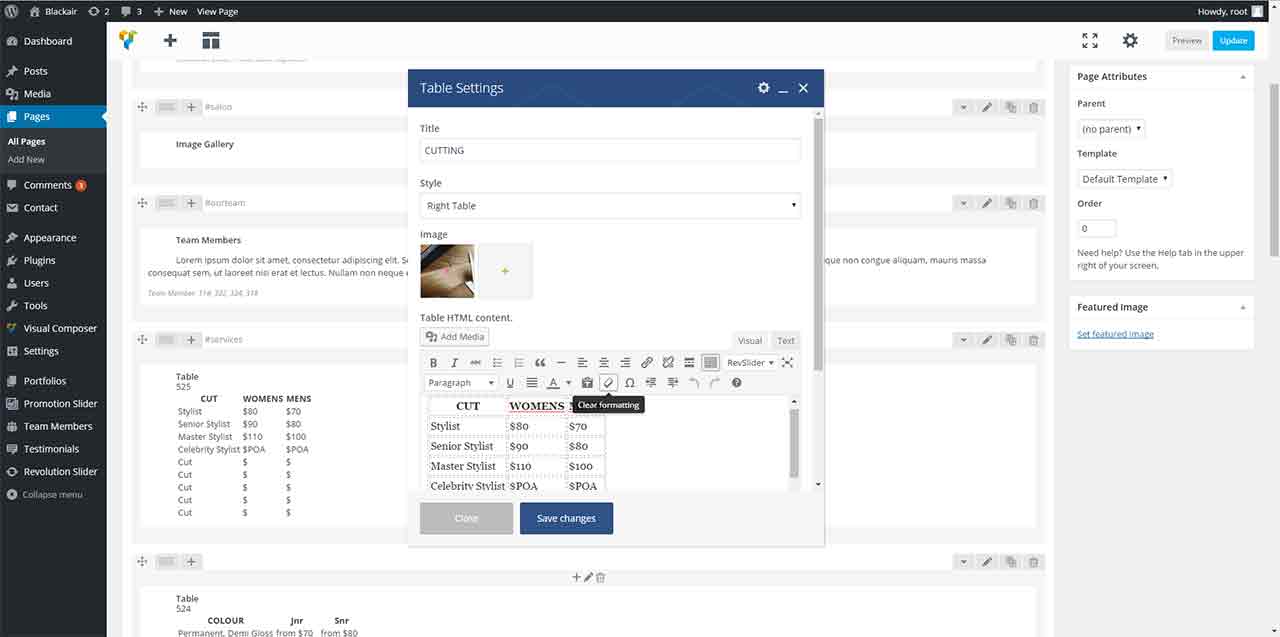
Proud Portfolio-content
The Proud portfolio Content looks like this
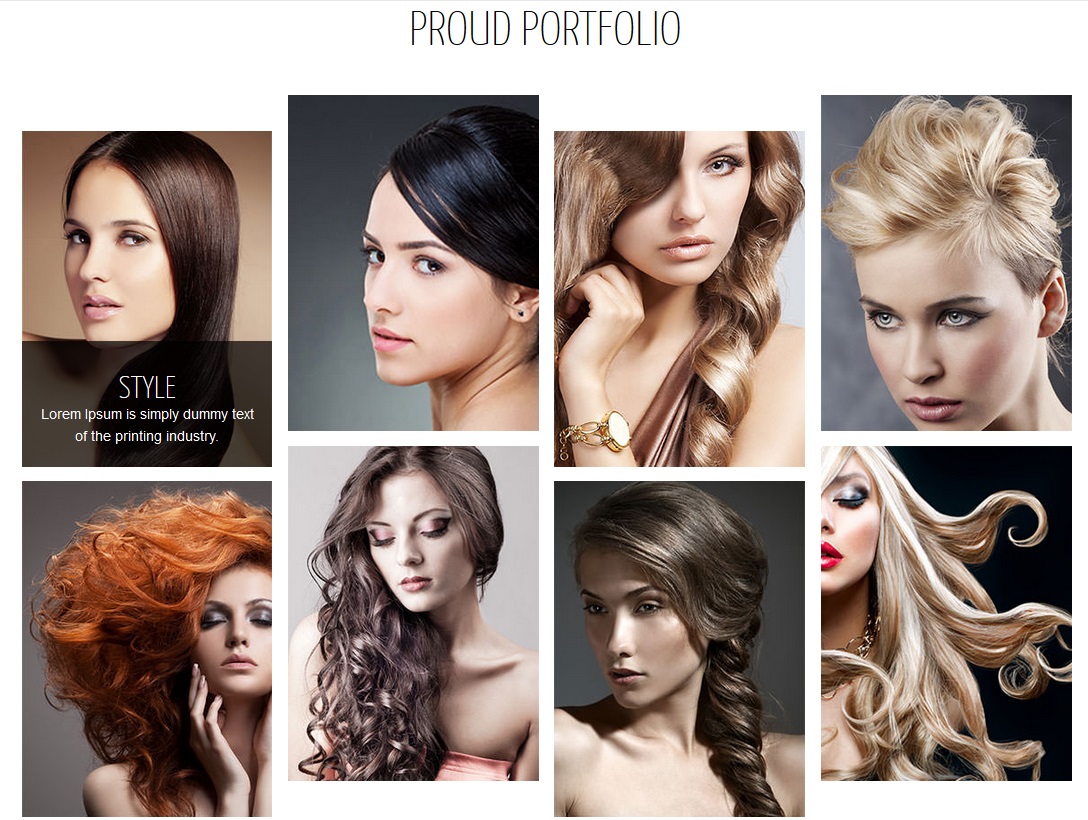
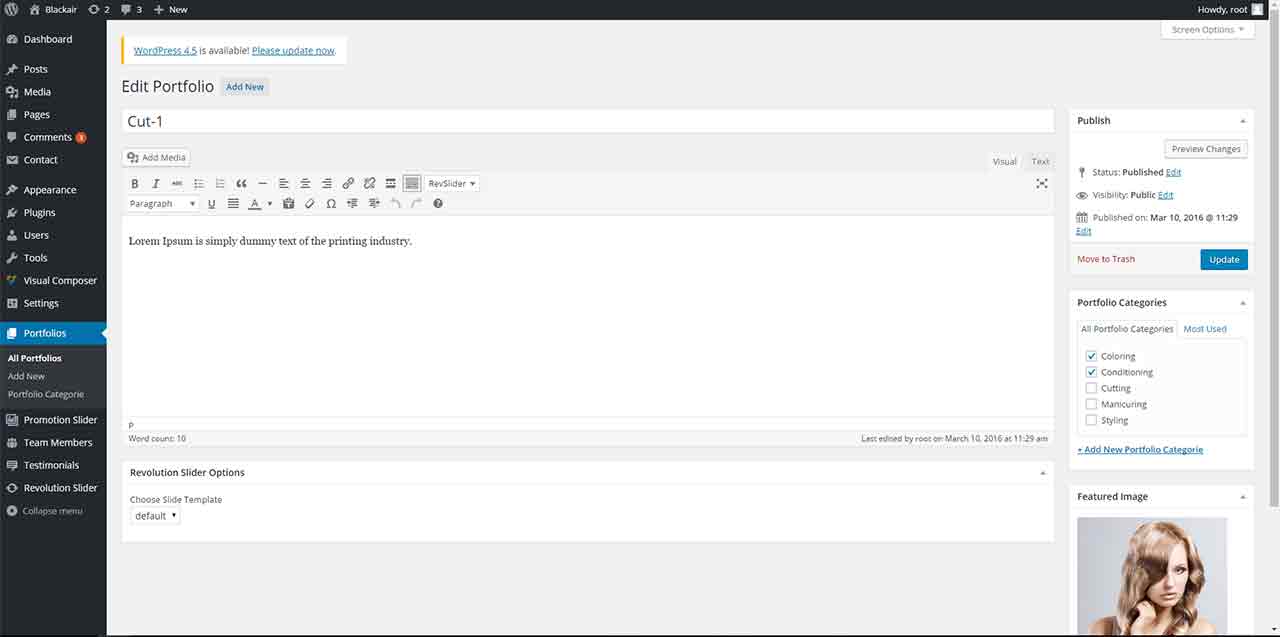
To add the portfolio details, go to Custom Post Type 'Portfolios'. Here you can add a new element or edit an existing element.
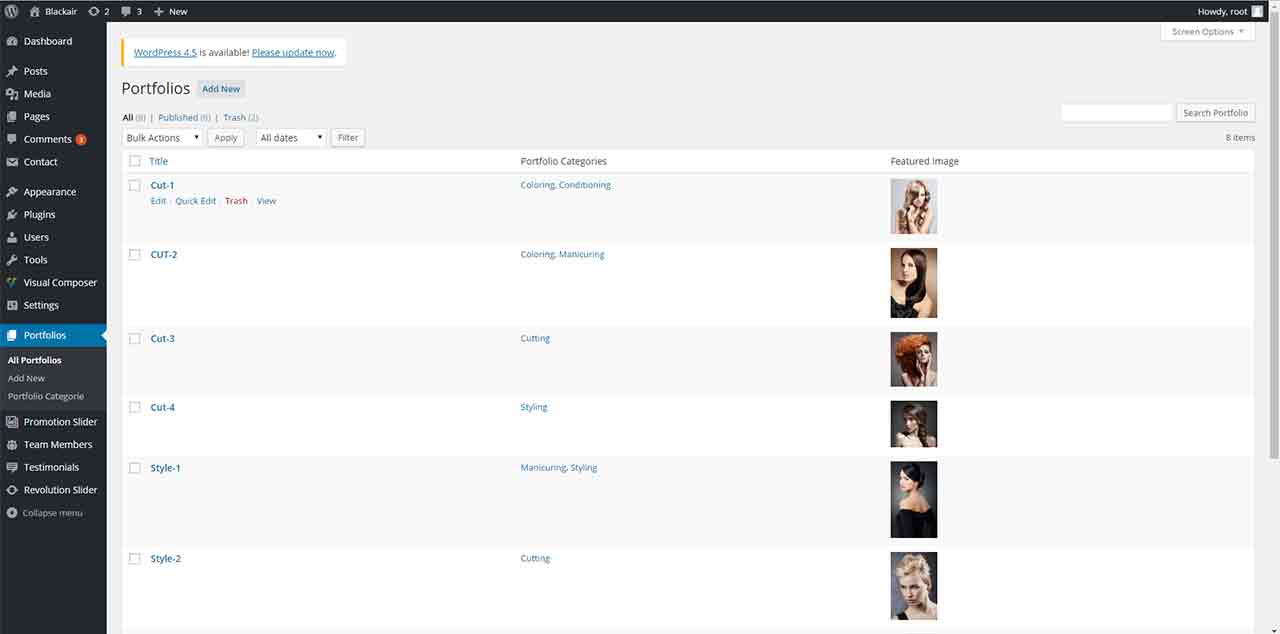
You can add various details about the element such as Name, Image (using Featured Image) and Description.
You can also select 'Portfolio Categories' by selecting the appropriate check-box. These categories can be added / edited from 'Portfolio Category'.
To add your Portfolio, go to Pages and add Portfolio element from Visual Composer. In the subsequent form, add element of the individual Portfolio.
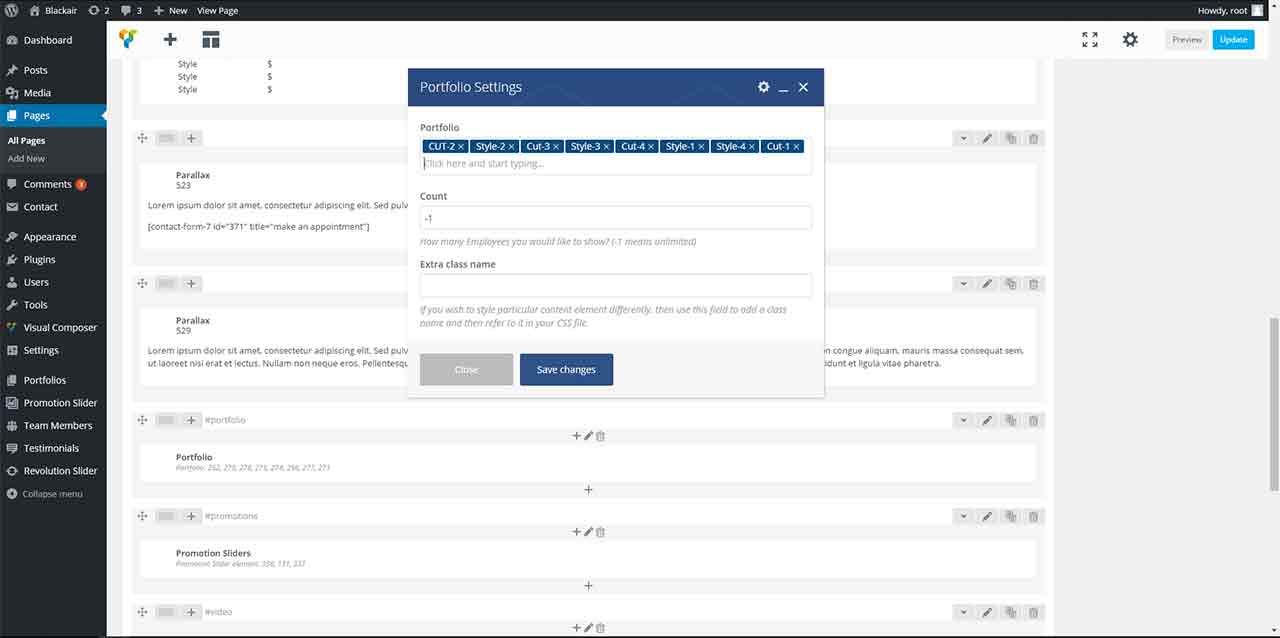
If you leave the 'Portfolio Element' and 'Count' field blank, then it will display all the portfolio elements added above. However, if you have selected some names then it will display only those elements. Additionally, if you mention 'Count' then it will display a maximum of those many elements.
You can also add a custom style through a custom css class in the Custom Class field.
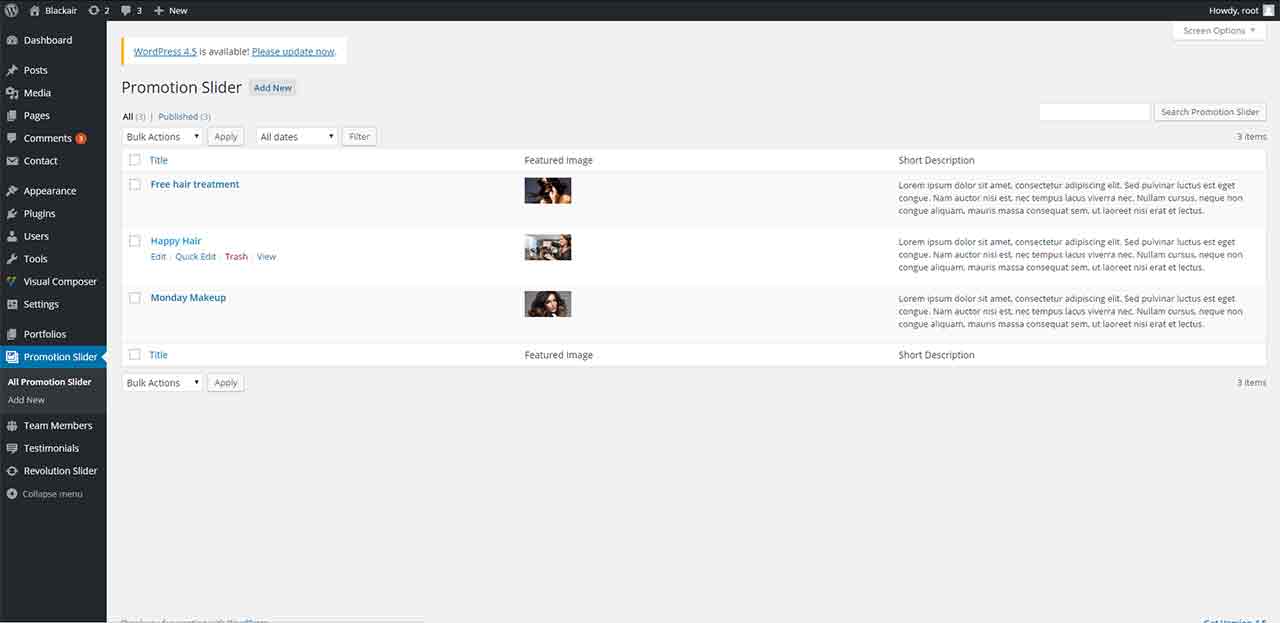
Promotions and Special-Content
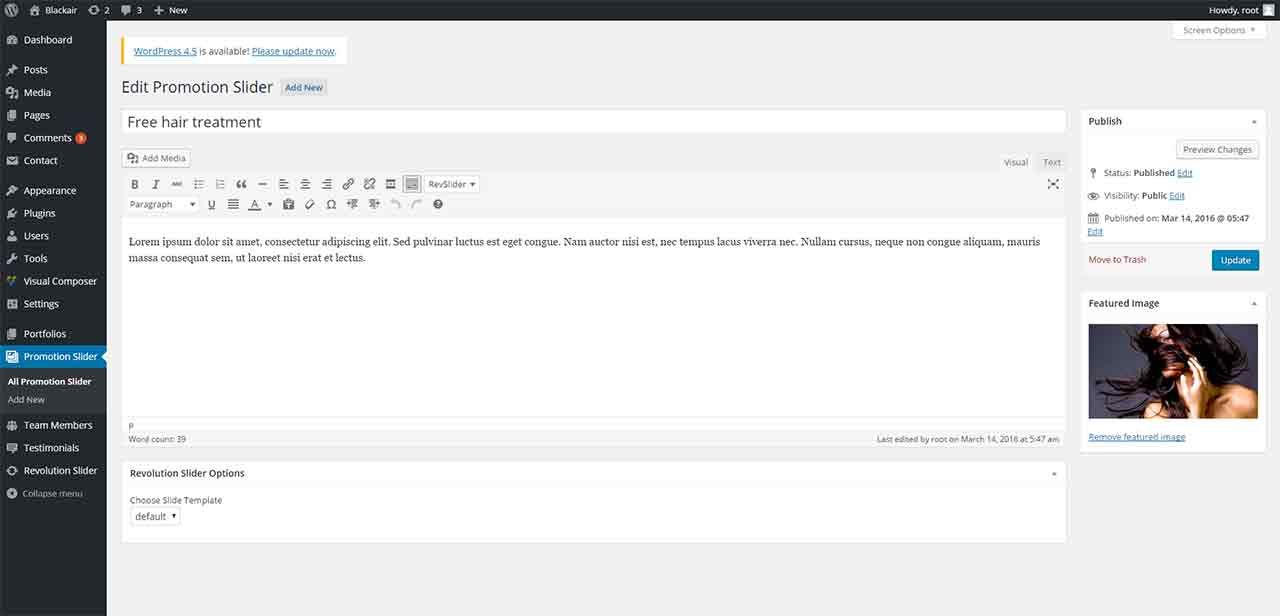
To add the Promotion Slider, go to Custom Post Type 'Promotion Slider'. Here you can add a new promotion element or edit an existing promotion.
You can add various details about the promotion such as Name, Image (using Featured Image) and Description.
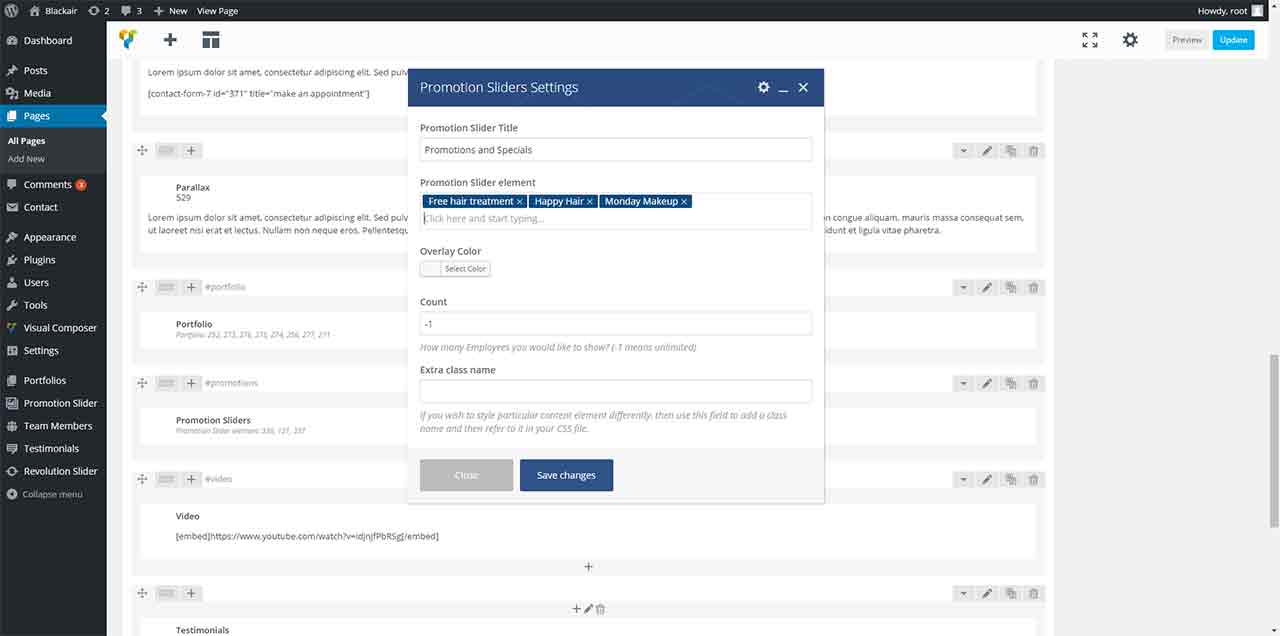
To add your Promotion Slider, go to Pages and add Promotion Slider element from Visual Composer. In the subsequent form, add element of the individual Promotion.
If you leave the 'Promotion Element' and 'Count' field blank, then it will display all the promotion elements added above. However, if you have selected some names then it will display only those elements.
Additionally, if you mention 'Count' then it will display a maximum of those many promotions. You can also add a custom style through a custom css class in the Custom Class field.
Video Content
To add video, first go to pages and add Video element from Visual Composer. In the form, you can provide Video Title, Description and URL.

Ensure that you use embed tag on either side of the url. e.g. [embed]URL[/embed] You can also a custom style through a custom css class in the Custom Class field.
Parallax Content
To add Parallax, first go to pages and add Parallax element from Visual Composer.
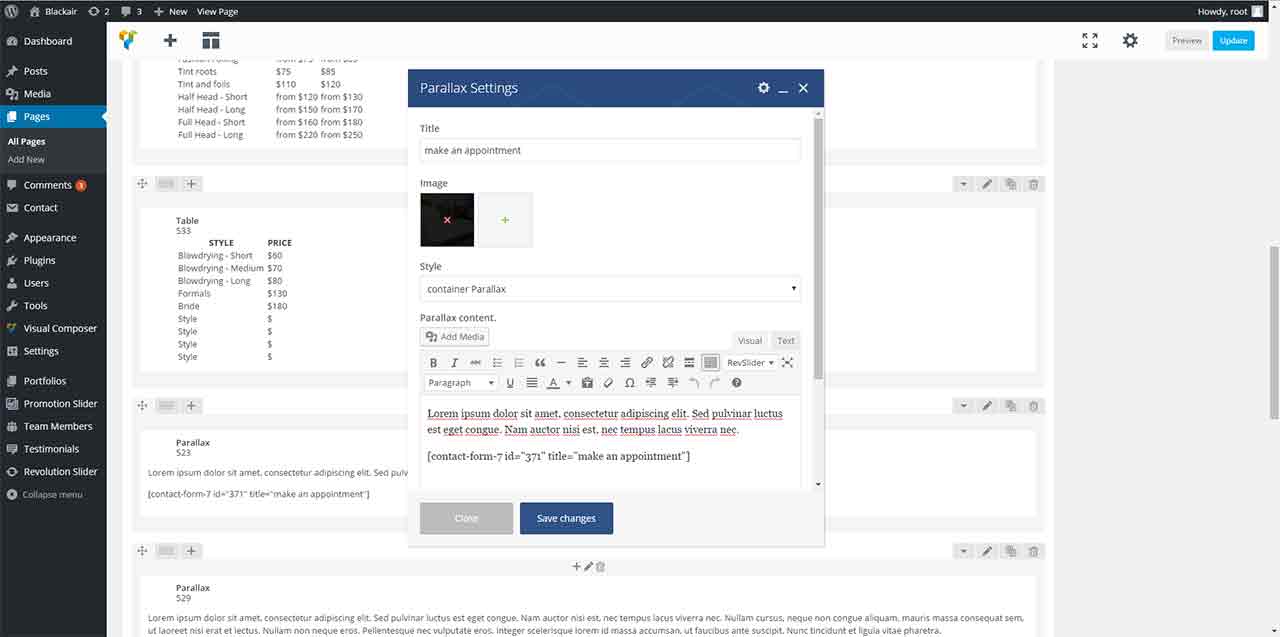
In the form, you can provide Parallax Title, Description, image and Parallax style. You can also a custom style through a custom css class in the Custom Class field.
Testimonials
To add the Testimonials, go to Custom Post Type 'Testimonials'. Here you can add a new testimonial or edit an existing testimonial.
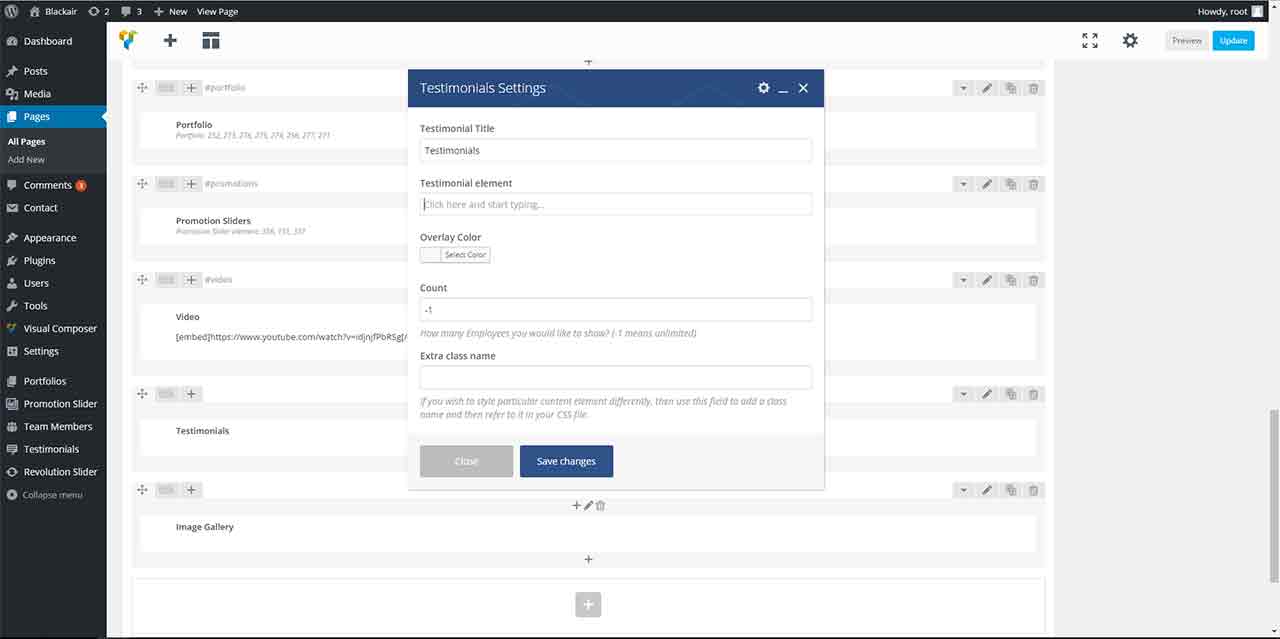
You can add various details about the testimonial such as Name, Image (using Featured Image), Testimonial Content and its author's name.
To add your Testimonials, go to Pages and add Testimonials element from Visual Composer. In the subsequent form, add element of the individual testimonial.
If you leave the 'Testimonial Element' and 'Count' field blank, then it will display all the testimonial elements added above. However, if you have selected some names then it will display only those elements.
Additionally, if you mention 'Count' then it will display a maximum of those many testimonials. You can also add a custom style through a custom css class in the Custom Class field.
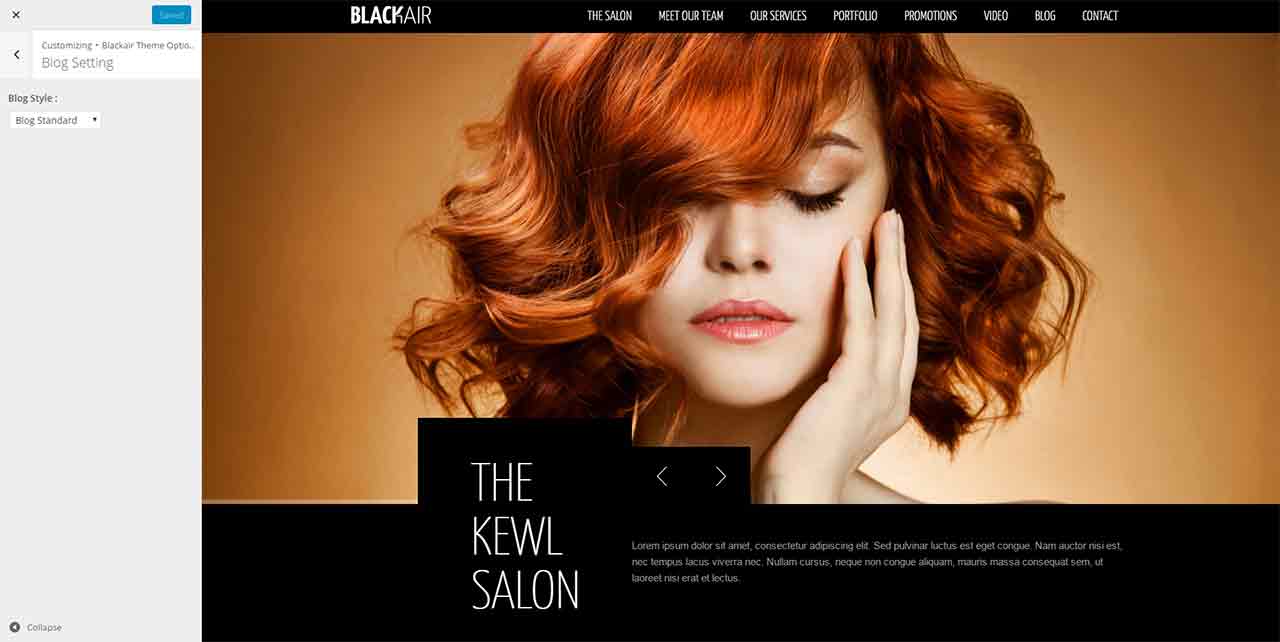
Blog Page
To select blog style, go to Appearance » Customize » Blackair Theme Option » Blog Setting. We have provided for styles of blog.
To display blogs of your site in seperate page follow these steps:
- Create a new page (Page » Add New)
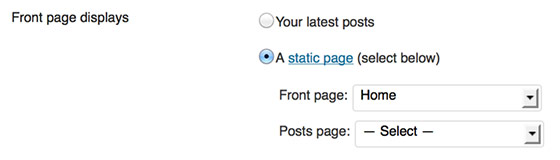
-
If you would like to make this page a front page (to be opened by default when the site is visited) go to Settings » Reading » Front page displays » Select "A static page" and select the page that you have just created in the Front Page list:
Defining the number of posts on the blog
In the "Number of posts per page" field of the blog page settings section. you can set the number of posts to display on that page.
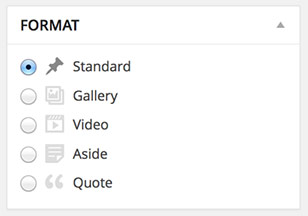
Selecting a format for the post
The posts support the following formats: Standard, Gallery, Video, Aside and Quote. The format can be selected in the "Format" section of the post:
Showing The Related Posts
The blog posts provide an option to show the related posts at the end of the post content on the single post page:
8. Plugins included
Recommended plugins installation interface is shown on fig.1:
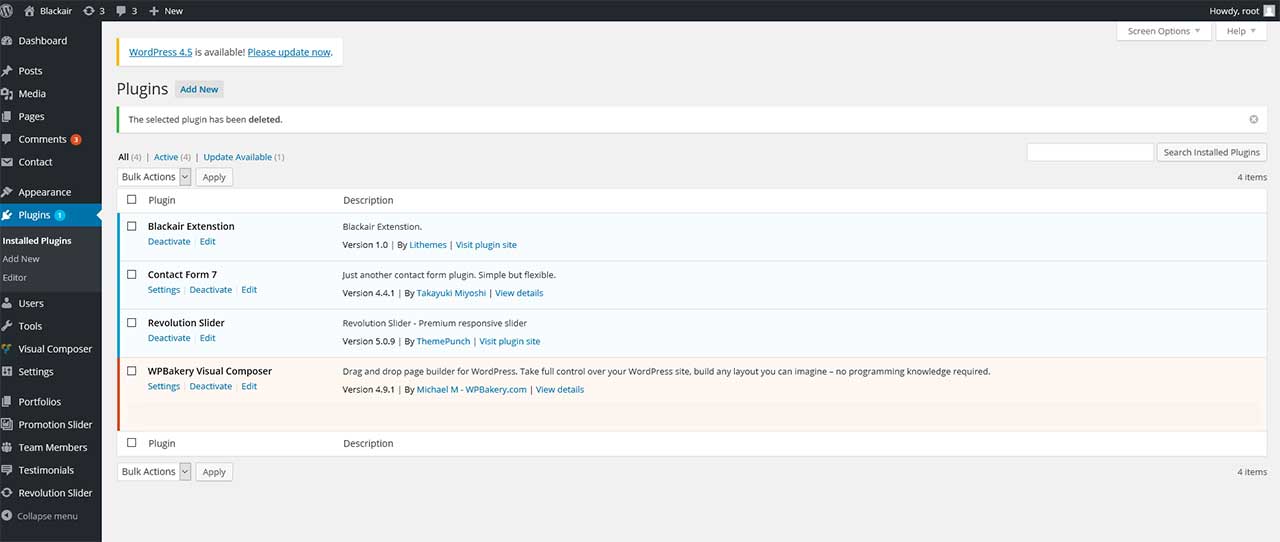
Fig. 1. Plugins Installation.
To proceed to certain plugin installation hover over its title – “Install” link will appear. Click it – installation process is 100% identical to regular WordPress plugins installation.
Attention! Please do NOT use the “Bulk Action” for plugins installation: on most hostings “Pre-Packed” sliders cannot be installed this way.
Premium (“pre-packed”) plugins documentations available here:
- Blackair Extension
- Revolution Slider
- Visual Composer
- Contect Form 7
9. Support
- The relevant section of the documentation
- WordPress Codex for general WordPress questions
- Theme Support